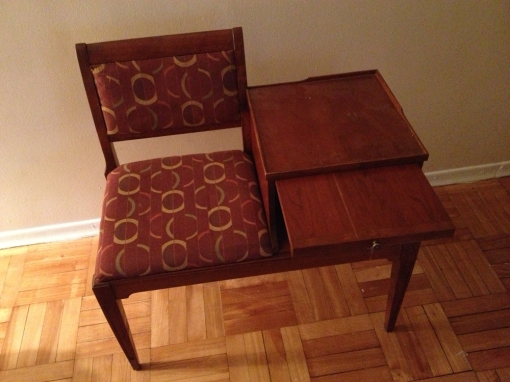
Step 1: Disassemble and sand
Taking the thing apart proved to be fine *until* I got to the extension piece that pulls out of the top of the table portion. There were two little plugs inserted into the bottom of the extension that would catch on a hidden lip which aimed at preventing the extension from being fully removed. The first plug came out easily with some pliers; the second wouldn’t come out no matter what I tried… ended up chipping the top off just to get it out and I’ll get the rest out before I paint and put the extension back in. Fortunately the plugs were essentially those wooden pegs that come with IKEA furniture… and I can get those easily.
Sanding and disassembling was a little more work than I expected. The sanding couldn’t be done entirely with the electric sander, so a lot of hand sanding went into this. Also it seems I will have to do quite a lot of heavy sanding on the extension to ensure that it will slide in and out smoothly in the long run.
Step 2: Paint

The first coat is easy enough. Nothing major to report for that part. For the accents (not pictured), I spray painted the knob that attaches to the extension and the screws which will be visible in the back of the bench with the brushed gold. I like to add those little things that no one necessarily notices but make the difference between quality and a rush job.
Step 3: Recovering the Seat
Step 4: Branding
This is something I’ve always thought about in the beginning, but never actually remembered to do in the end.
I bought some sticky foam letters from the dollar store, sprayed gold paint around them, waited 10 minutes and removed the foam letters. Voila!

Now I just have to finish the extension insert and then I will take photos and post the final product!